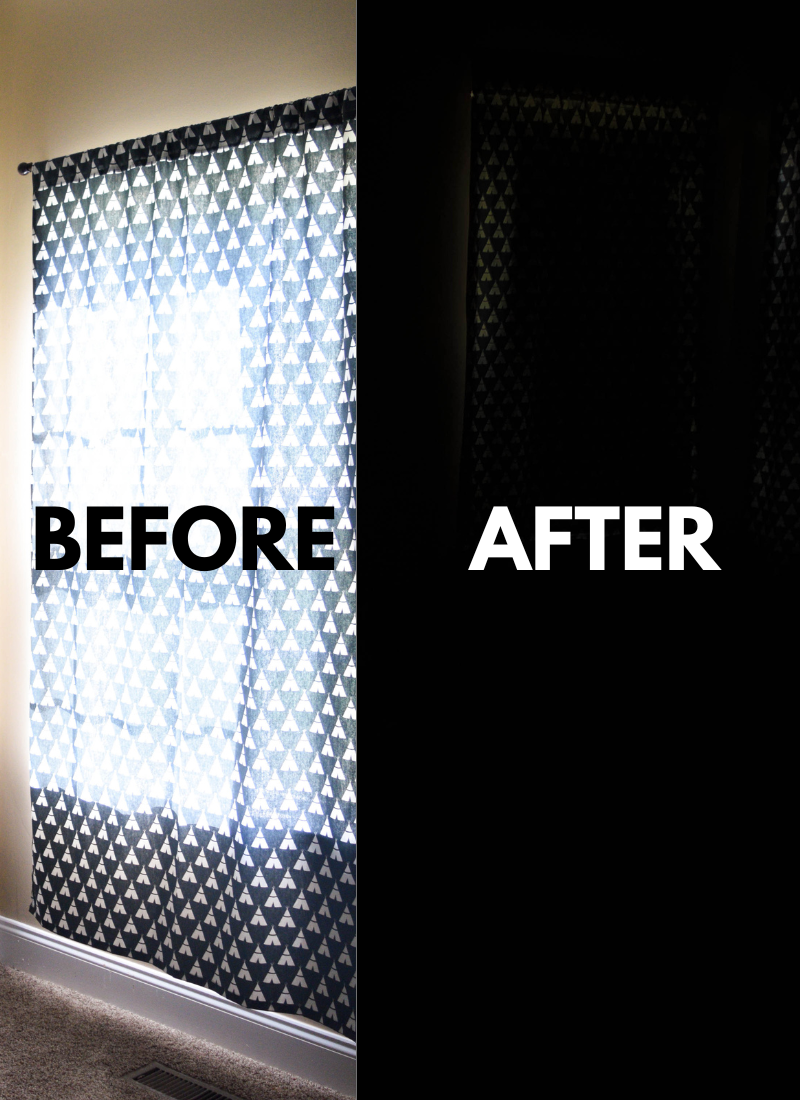
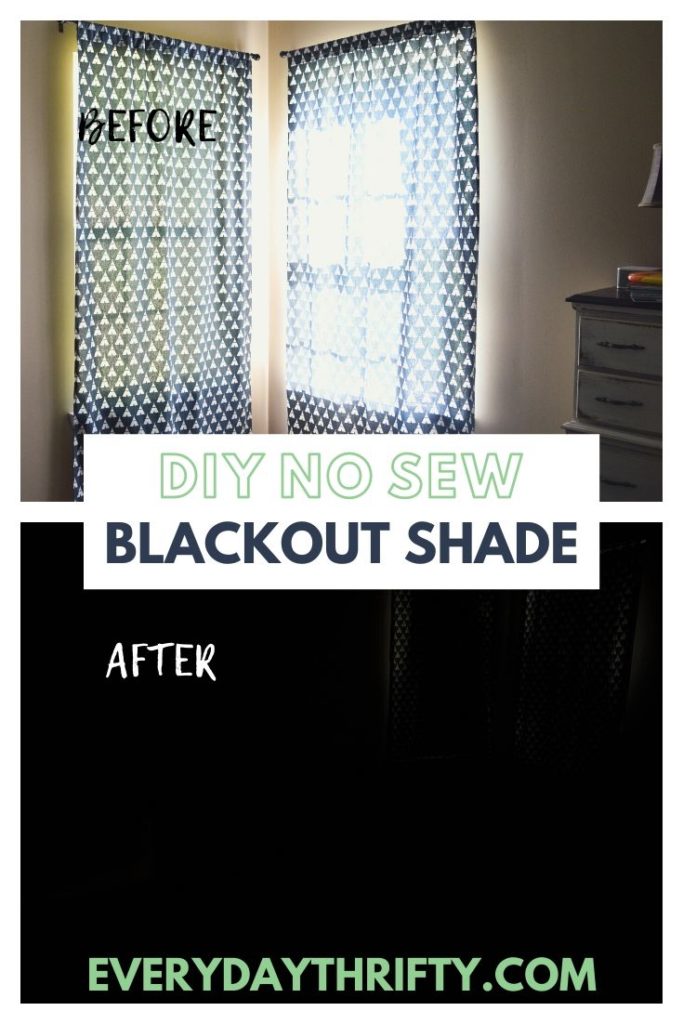
Looking for a way to get your room nice and dark, but don’t want to spend the extra dough?
Today, I’m going to be showing you, step-by-step, how to make your own DIY blackout roller shades (blackout blinds) using just a few inexpensive supplies.
Let’s dive in!
The Importance of Blackout Shades
As a mama of two little ones, I am a Bonafide Nap Nazi. Raising children that can sleep well on their own has been essential for the WHOLE family’s well-being. Overtired kids and overtired parents undoubtedly equate to fussiness and laziness in our household (parents included)!
This post may contain affiliate links which means that I may receive compensation at no extra cost to you if you make a purchase from a link found on my site. Please review my privacy policy for further details. As an Amazon Associate, I earn from qualifying purchases. Thank you for your support in allowing this site to continue!
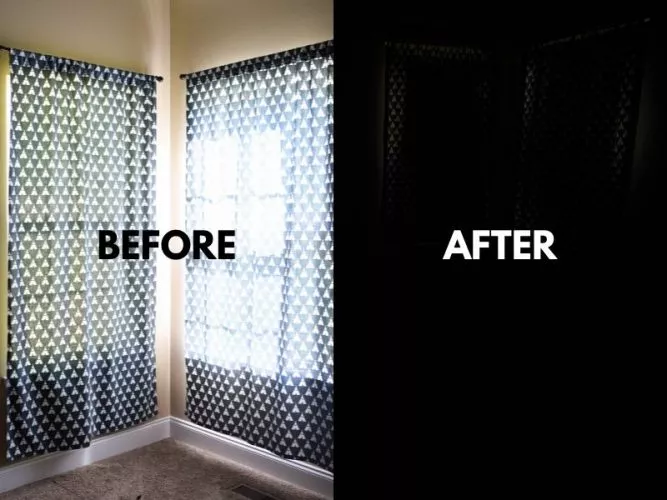
As my babies became toddlers, they had difficulty falling asleep in their bedrooms due to the fact that their curtains didn’t block out much light. I knew that I needed a window blackout solution! Namely, one that would fit snugly inside the window frame and block out the maximum amount of light so they could get to sleep faster.
After searching the Internet, I realized that I would have to basically sell my firstborn child in order to afford a store-bought blackout roller shade! Nope. Not doing it! And, so as my 3-year-old son says, I decided to, “Do it by my own!”
If you’re looking for more ways to cut costs on baby, don’t miss 35 Guaranteed Ways to Save Money on Baby!
With just a few basic supplies, I decided to make my very own DIY blackout shade for less than $15!
And let me tell you, I am NOT a crafty person. At all. And without a doubt, you don’t have to be either! This easy tutorial will let you sleep peacefully in your newly darkened room knowing you saved BIG bucks.
If you’re a little more skilled than I am and want to try a beginner-friendly sewing project, you can easily learn how to sew a reusable produce bag with this tutorial!
To make it easier for you, the supply list below includes links that will let you purchase the exact supplies from Walmart that I used on this DIY blackout shades tutorial. In addition, if you shop at Walmart for your groceries, don’t miss our How to Save Money on Groceries: the ULTIMATE Guide to save HUNDREDS off your grocery bill each month!
Let’s roll!
How To Make DIY Blackout Shades
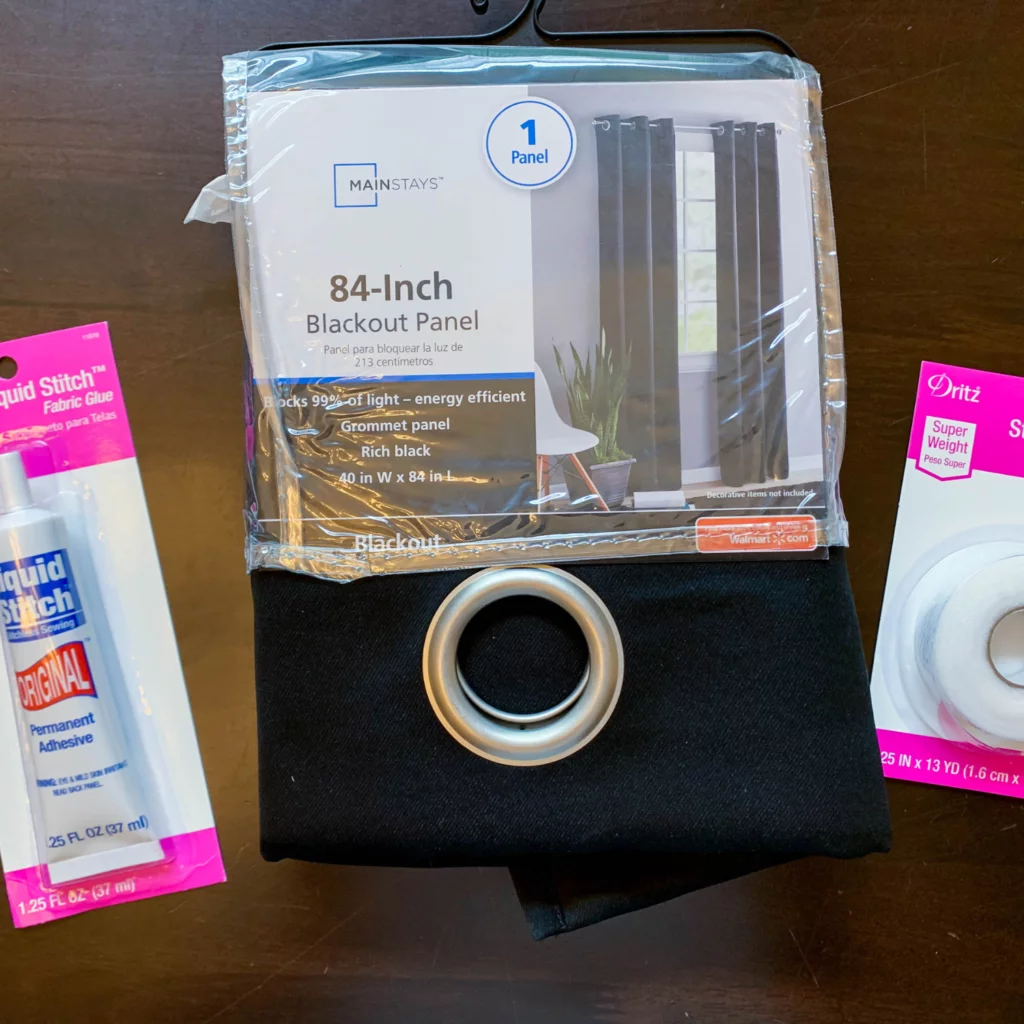
Supplies Needed
Instructions
Step 1: Measure inside the window frame for shade dimensions.
Step 2**: Add 4” to your measurements to allow for a seam and additional margin for blocking out light. For example, if your window measures 36”x60,” then you would measure your blackout shade panel to be 40”x64”.
Step 3: Unfold the blackout shade, and iron to eliminate creases.
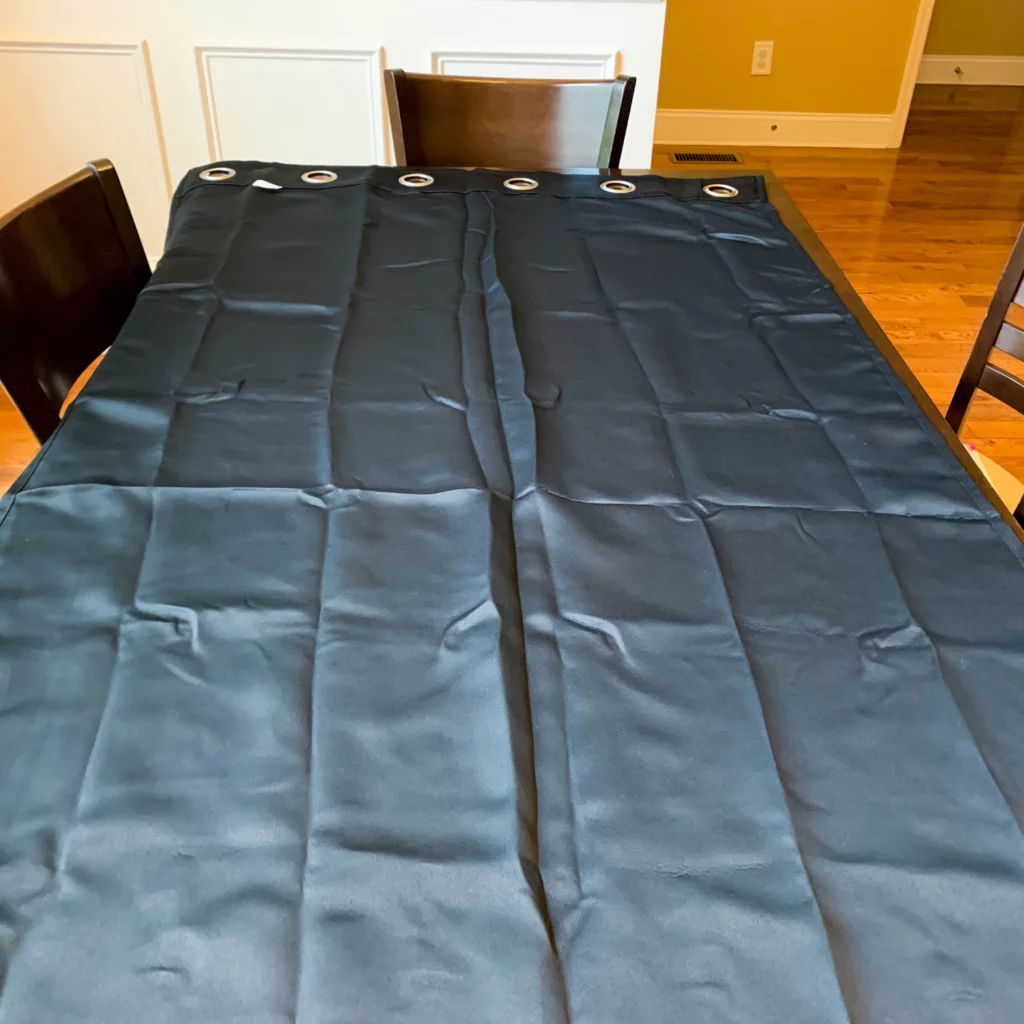
Step 4: Cut off both the top and bottom curtain hems. (Note: be certain that you purchased a large enough shade to do this.) Then measure and cut out the window size you need.
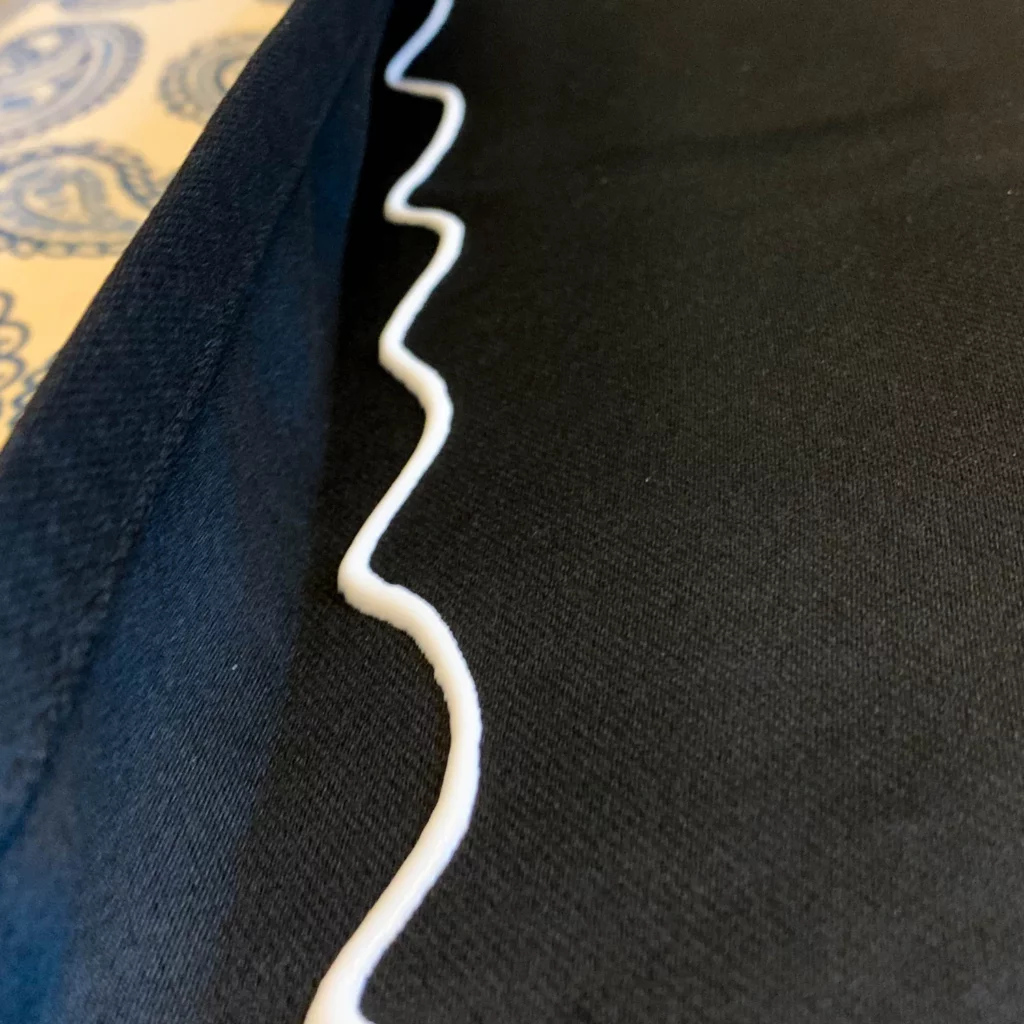
Step 5: Using a ruler, fold over 1-1.5” of fabric on both sides of the curtain panel. Starting with one side, iron the crease along the vertical length of the shade working in sections down the full length. Then repeat on the opposite side.

Step 6: Apply a fabric glue inside the crease, press down gently, and work in sections down the full length of the shade. Repeat on the opposite side. When finished, set shade aside.
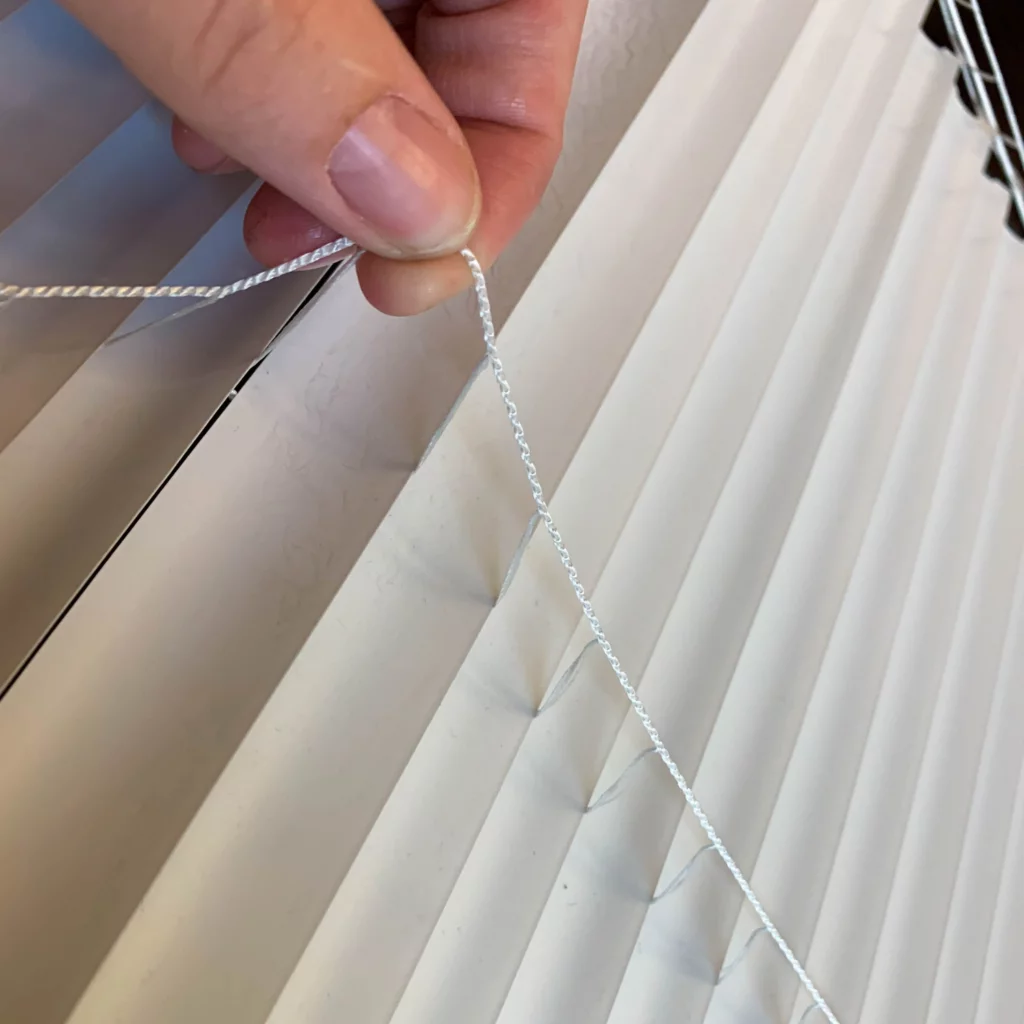
Step 7: Taking your miniblind, cut along the slats to remove the ladder cord that holds the miniblinds. Do not cut the thicker cord on the two exterior sections. If your miniblinds have 3 sections, you may cut the thicker cord in the center. Repeat this step to remove all the ladder cords.
Step 8: Take the bottom bar of the blind and remove the caps. Unknot the string, and then slide off the miniblind slats.
Step 9: Once the slats have been removed, string the cord back through the bar, tie a small knot, and place the caps back on.
Step 10: Taking the shade with the seam side facing up, place the miniblinds on top of the shade.
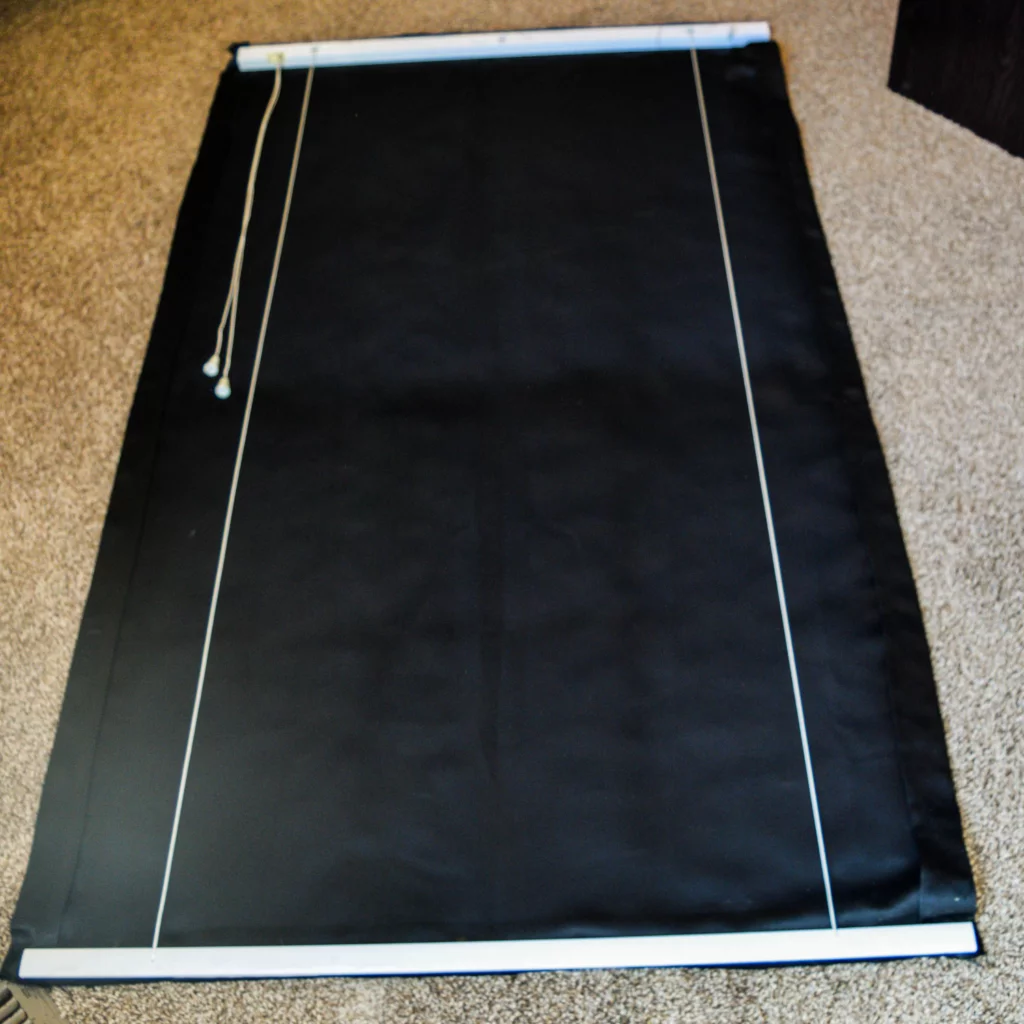
Step 11: Focusing on the top bar, make sure the front of the bar is facing down against the shade. Roll it back so you can then apply a generous amount of fabric glue to the FRONT of the bar ONLY. Then roll back down and press the glued front onto the shade.

Step 12: Working on the bottom bar, apply a generous amount of glue to the flat part at the very bottom of the base. Then fold the shade up underneath the bar and press firmly.
Step 13: Allow approx. 1 hour or more to thoroughly dry. When the glue is dry, hang up your new blackout shade back up in the curtain brackets! Note: you will not be able to slide the bracket covers back into place. However, it should fit securely in the brackets.
Tips for DIY Blackout Shades
*Be sure you’re buying a “Blackout” shade and not just a “room darkening” shade! There is indeed a difference and the blackout shade will provide better light blockage.
*QUICK VERSION: If you’re pressed for time and/or are going to hang a decorative curtain outside the window to cover your shade, you can SKIP Step 2 through Step 6 which tells you how to make a side hem.
I hope you’ve enjoyed this quick tutorial on how to make a cheap and easy blackout roller shade!
If you’re ready for a next level challenge, you’ve got to check out this DIY bed skirt tutorial! It’s a beginner-friendly sewing project that teaches you how to make your own bedskirt from budget-friendly supplies!


I need home decorating ideas really cheap! And easy!??
Sure thing! Here are some of our best tips on budget-friendly decorating: https://everydaythrifty.com/decorating-on-a-budget/
I’m sorry, this just confuses me… Why do this at all? Why not just put up the curtains as is…? It is very incentive tho, I’ll give you that…. ??
Most curtain rods have a 1″ to 3″ gap between the wall and the curtain which allows quite a bit of light to come through. This sets INSIDE the window frame and blocks out about 99% of the light.
I don’t understand how this is a roller shade. Does it roll up? Or is it blackout all the time?
We kept ours down all the time. You can technically lift it via the cord but it has to be guided back down.
I don’t understand how this works at all. If the strings don’t interact with the blackout fabric, how do you raise the blind to allow light in? If you can’t raise the blind all the way, I would say cheaper and faster equivalent could be to just paint the windows a solid opaque color. Personally I love light for everything but sleep, so anything that doesn’t roll up fully is completely non-functional for my personal taste.
I made this for our kids’ bedrooms so it was more functional to be dark for frequent naps and bedtime. If you painted a window like you suggested, that would be a fixed option too like this…no? This option is best for those that need a room to stay dark and won’t be a perfect solution for everyone.