Are you looking for a cute, budget-friendly treat for your kids to enjoy? Or maybe you are on the hunt for some treats for a birthday party you are planning? These super simple Unicorn Rice Krispie Treats are amazing and will be a huge hit with anyone who has the pleasure of eating them. Plus they are so fun to make!
One great benefit of this simple recipe is that your kids can help make them too. This can be a wonderful afternoon activity to introduce your kids to baking in the kitchen.
This post may contain affiliate links which means that I may receive compensation at no extra cost to you if you make a purchase from a link found on my site. Please review my privacy policy for further details. As an Amazon Associate, I earn from qualifying purchases. Thank you for your support in allowing this site to continue!
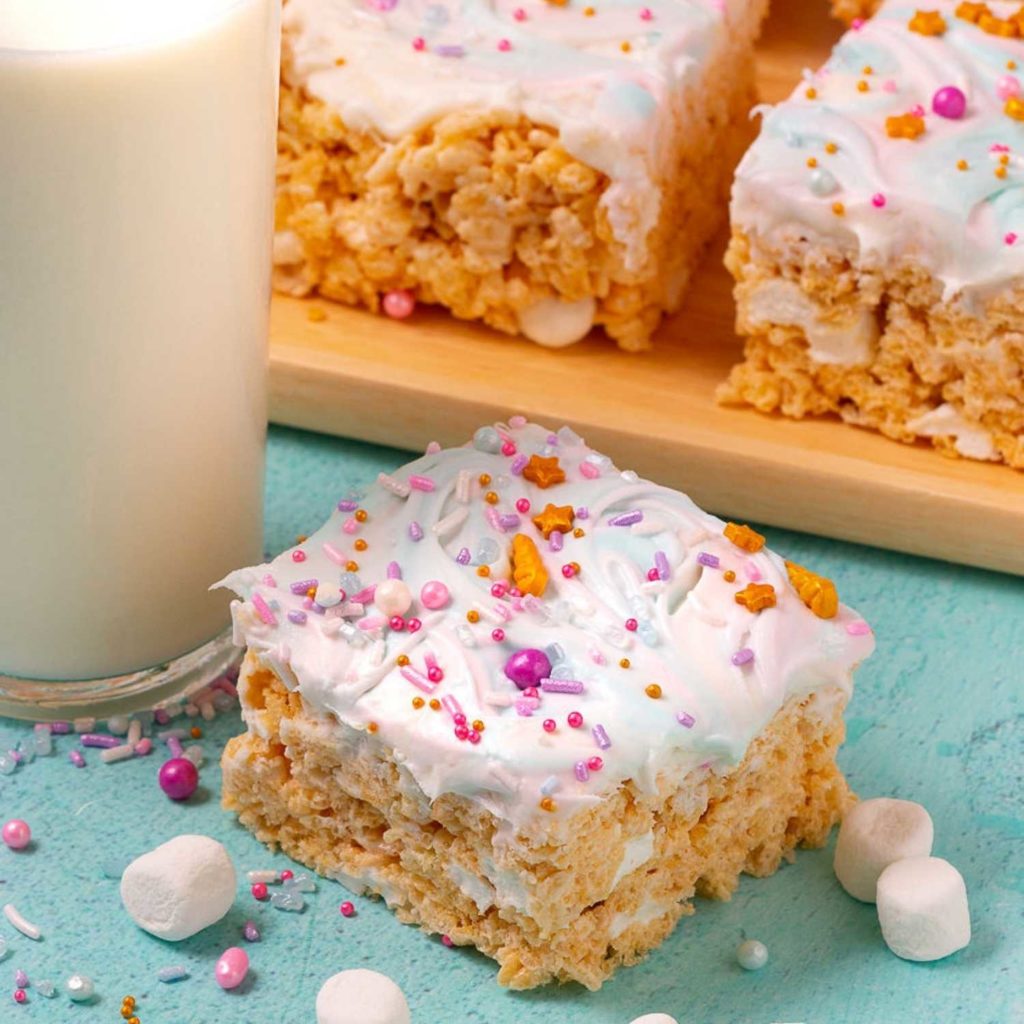
How To Make The Unicorn Rice Krispie Treats
Tools
To create your Unicorn Rice Krispie treats, you will need a few kitchen tools including:
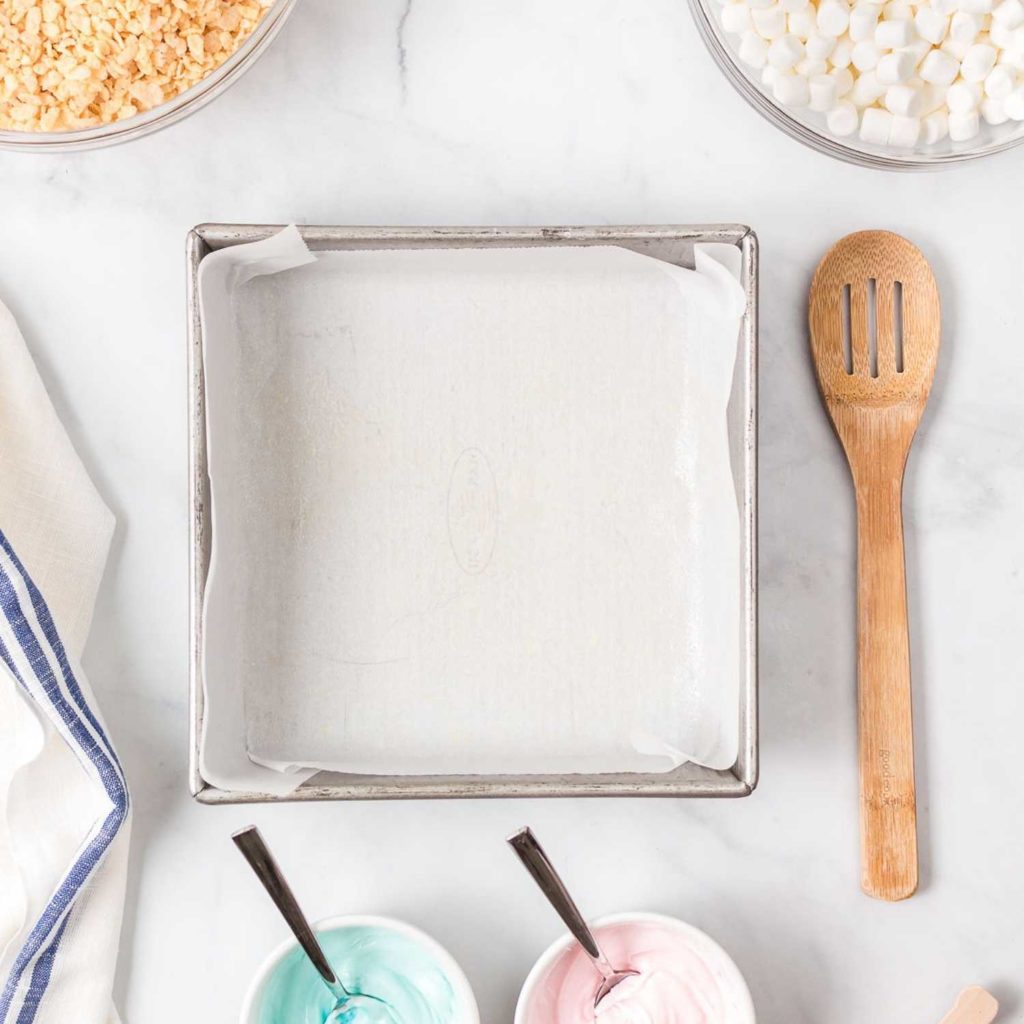
- 8×8 Inch Baking Pan
- Parchment Paper (If you don’t have parchment paper, a good alternative is aluminum foil.)
- Dutch Oven or Large Heavy Bottom Pot
- Off-set Spatula
- At least 2 Ramekins or Small Bowls (4 would be ideal)
- Wooden Spoon
Ingredients
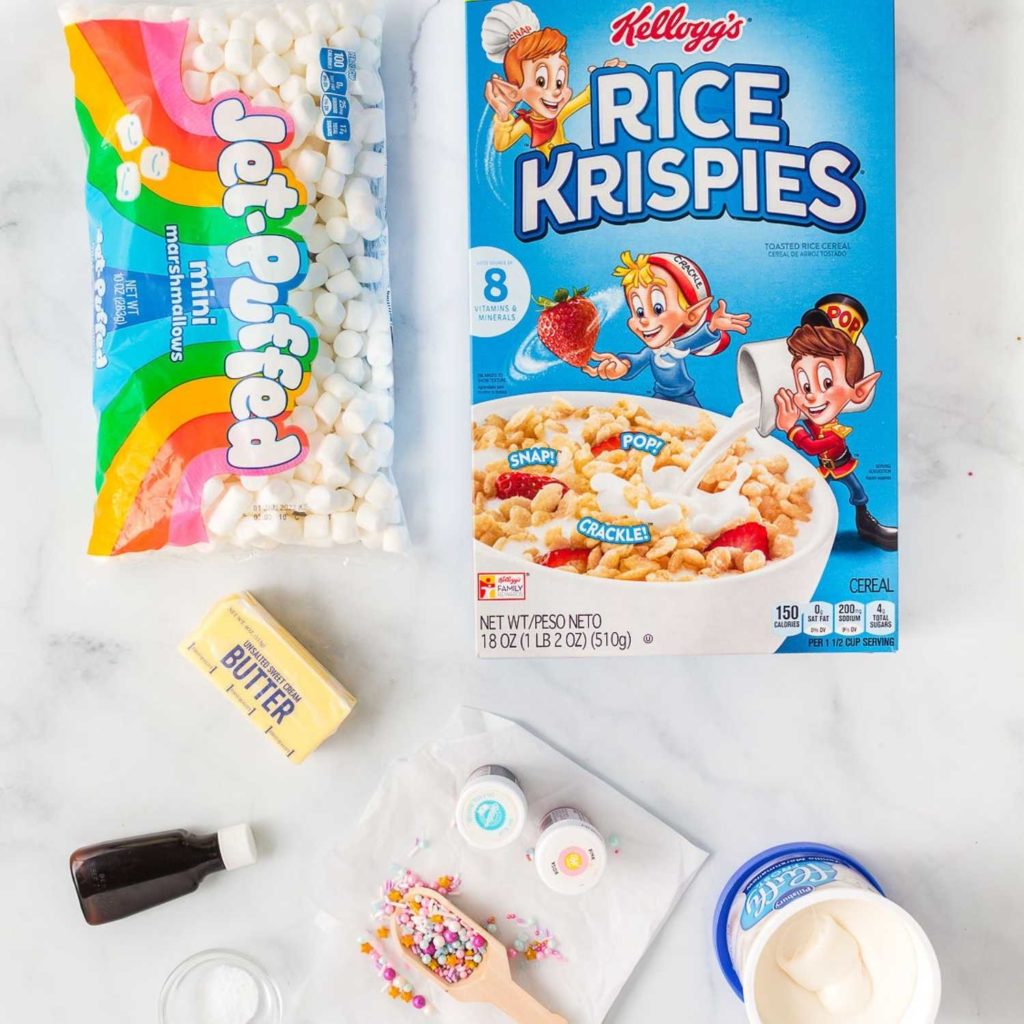
- 8 cups of Rice Krispies Cereal or similar cereal (you can also use Fruity Pebbles Rice Cereal for added color)
- 16 oz of Mini Marshmallows (divided into two separate bowls – one with 7 cups and the other with 1 and 1/2 cups)
- 8 tbsp of Butter
- 1/2 tsp of Kosher Salt
- 3/4 tsp of Vanilla Extract
- 1/4 tsp of Almond Extract (optional)
- 2 x 12oz cans of White Frosting
- Food Coloring
- Sprinkles
How To Make The Squares
Once you are ready to get started, place your Dutch Oven or another large, heavy-bottom pot onto your stovetop.
Preheat the pot for 2 minutes using low heat only. One of the most common reasons that Rice Krispie Treats harden very quickly is because they got too hot too fast when they were made. So, to ensure you get soft and gooey Unicorn Rice Krispie Treats, only use low heat as we have recommended.
Once your pot is pre-heated, add the butter to your pan. Stir the butter consistently to allow it to melt evenly. Around the 5-minute mark, the butter will start to sizzle and foam. Brown the butter to a light golden brown. If a small dark bit begins to form, remove your pot from the heat immediately.
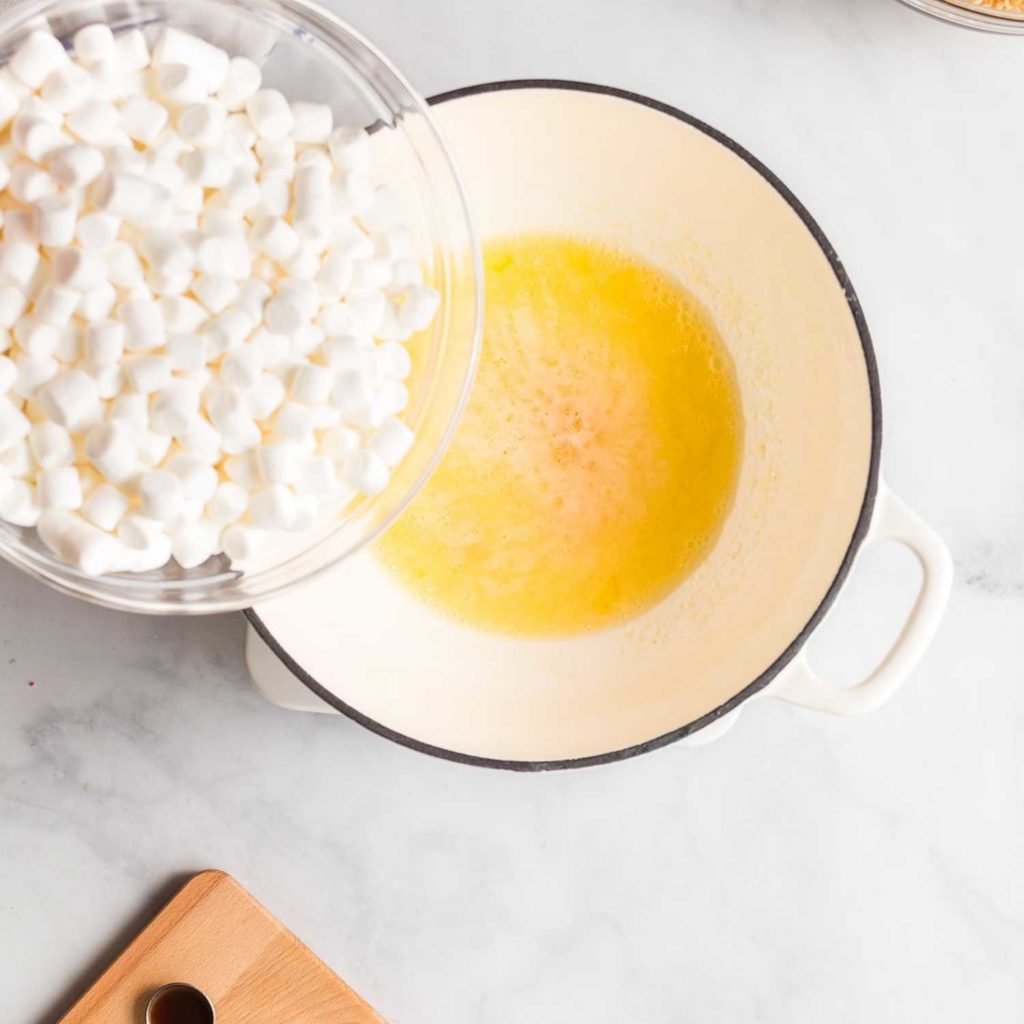
Once your butter is light, and golden brown, add half of your marshmallows, vanilla extract, the optional almond extract, and salt. Stir until the marshmallows melt completely.
Next, you will slowly fold the cereal into the melted marshmallow mixture until it is evenly distributed.
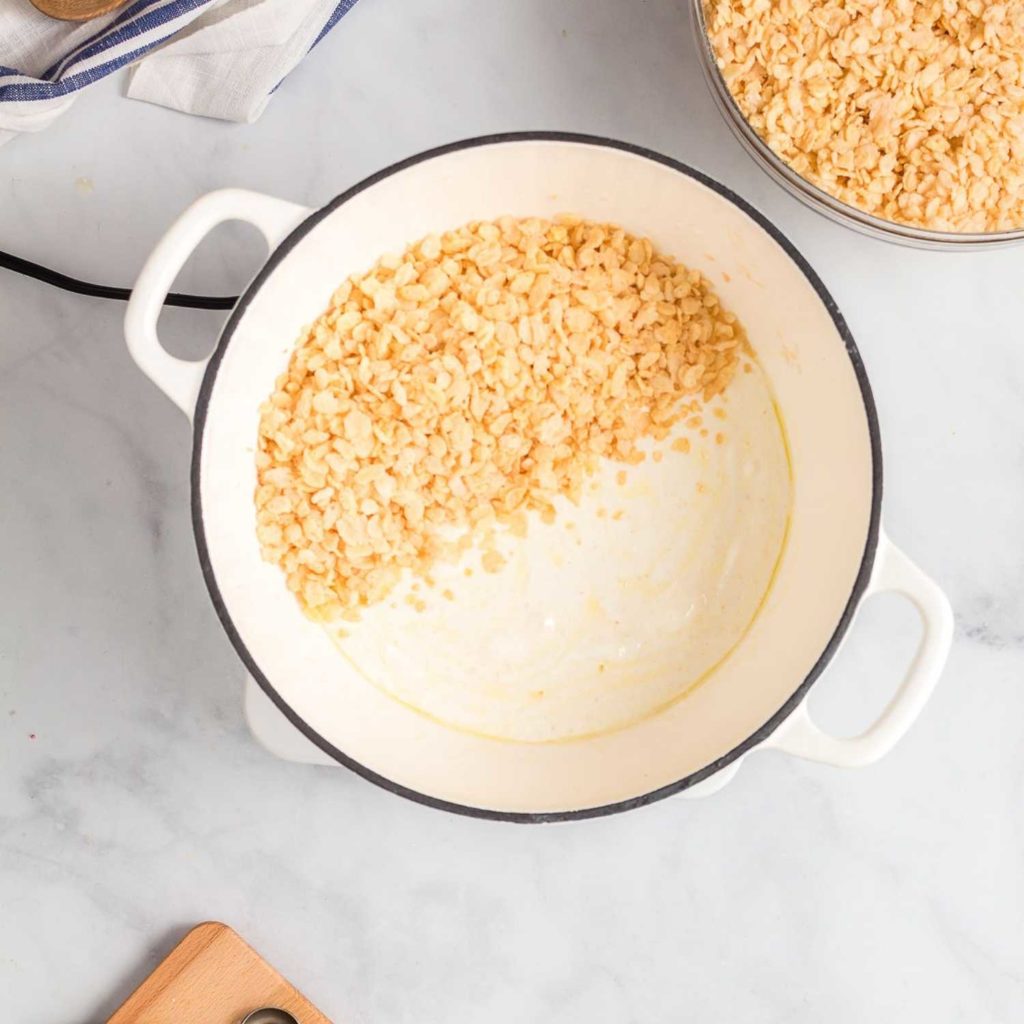
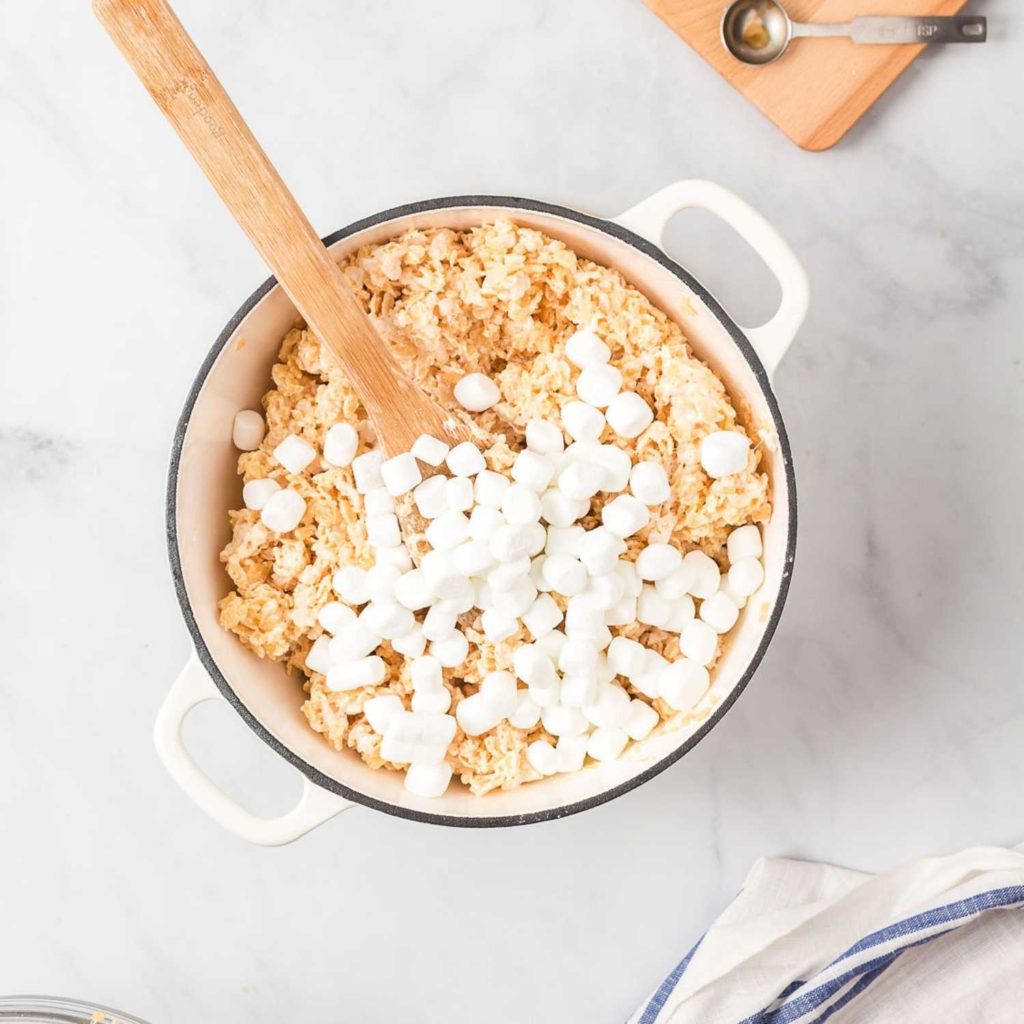
Sprinkle the remaining marshmallows into your mixture and fold carefully allowing the fresh marshmallows to be evenly mixed within the previously melted mixture. Remove from heat completely if you haven’t already.
Now it is time to form your Rice Krispie treats so that they can cool.
Line your 8×8-inch baking pan with parchment paper.
Then, transfer the mixture into your baking pan one scoop at a time. Start in the center, and place mounds of the mixture around the inside of the pan until full.
Placing a scrap of parchment paper between your hand and the mixture, gently press into the pan, but do not push down hard. Pushing down too hard would result in a tough and dense Rice Krispie Treat.
Rest at room temperature for at least 30 minutes. For best results, allow cooling for 60 minutes. (Avoid placing this in the refrigerator to cool, the sudden temperature drop will harden the sugar and impact the texture.)
Once the Rice Krispie treats are cooled, remove the block from the baking pan by lifting the edges of the parchment paper and placing the parchment paper and Rice Krispie block onto your countertop. If you did not use parchment paper, do your best to remove the Rice Krispie treat from the pan, keeping it in one piece, and place it onto a large plate or cooling rack.
How To Decorate The Squares
Once your Rice Krispie Treats have cooled completely, it’s time for the fun part: decorating!
In this section, I have broken down how I decorated the treats shown in the photos. However, there are many other cool decorating things you can do with these squares. You can go here for more ideas.
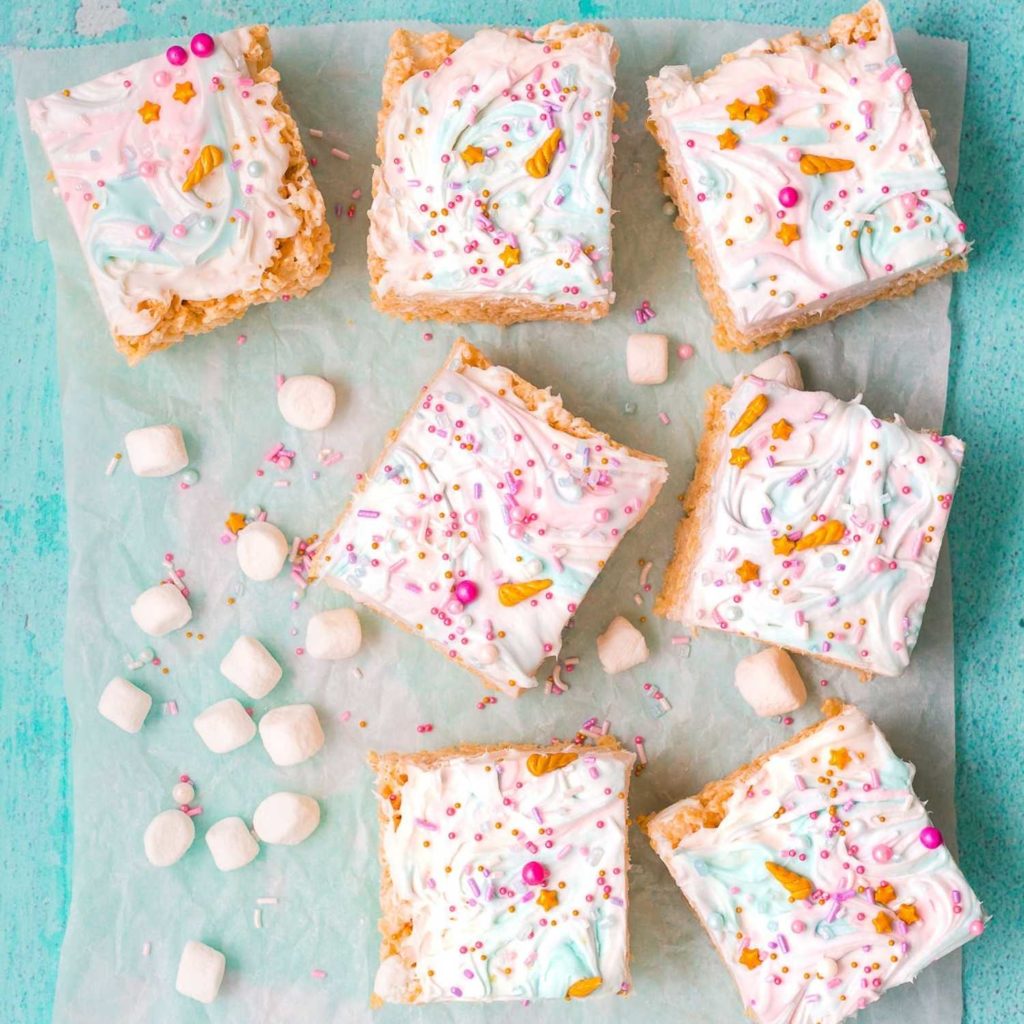
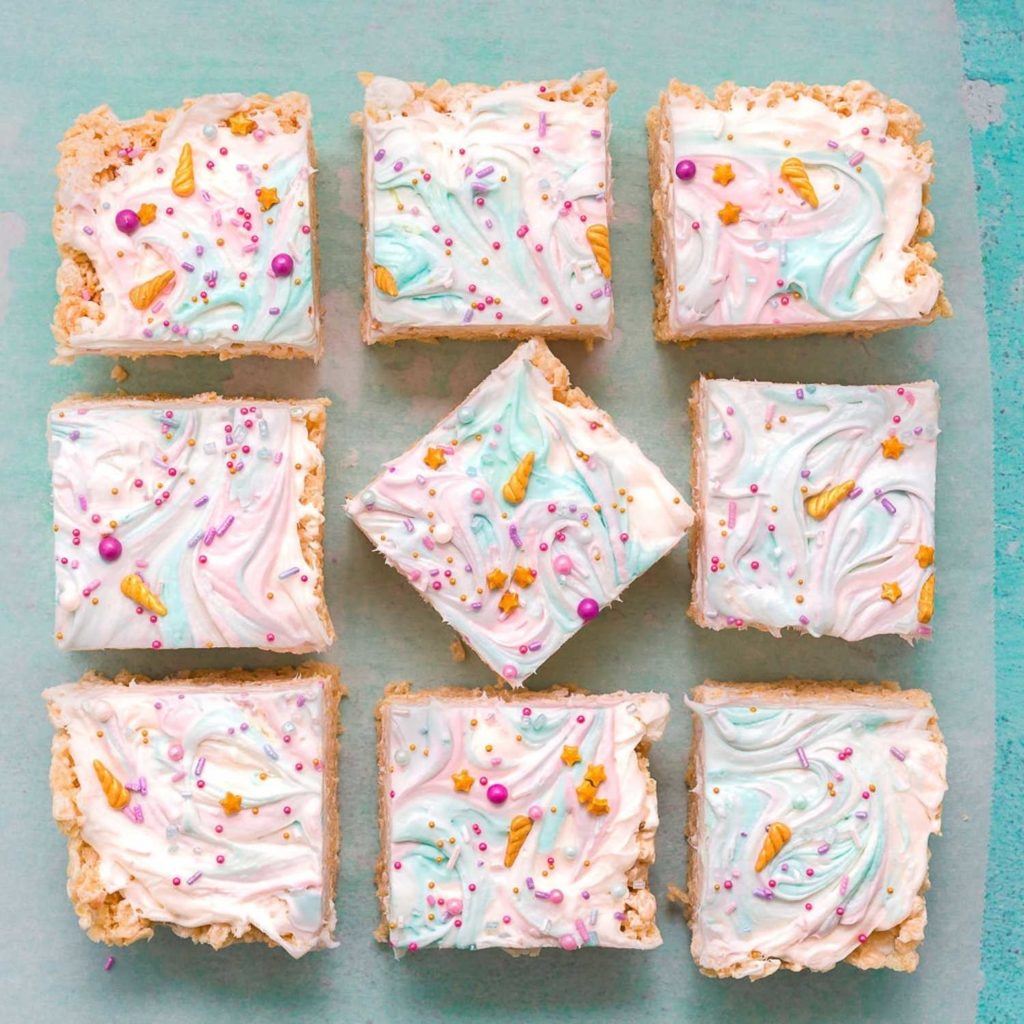
The first step is to prepare your unicorn frosting colors. In this case, I kept one tub of the frosting plain white and portioned the other tub into two equal parts. Use one part to be dyed with blue food coloring and the other part to be dyed with pink food coloring.
Next, using an offset spatula, dollop white frosting onto the center of the treat and push and swirl the frosting until fully covered with lovely, whispy textures.
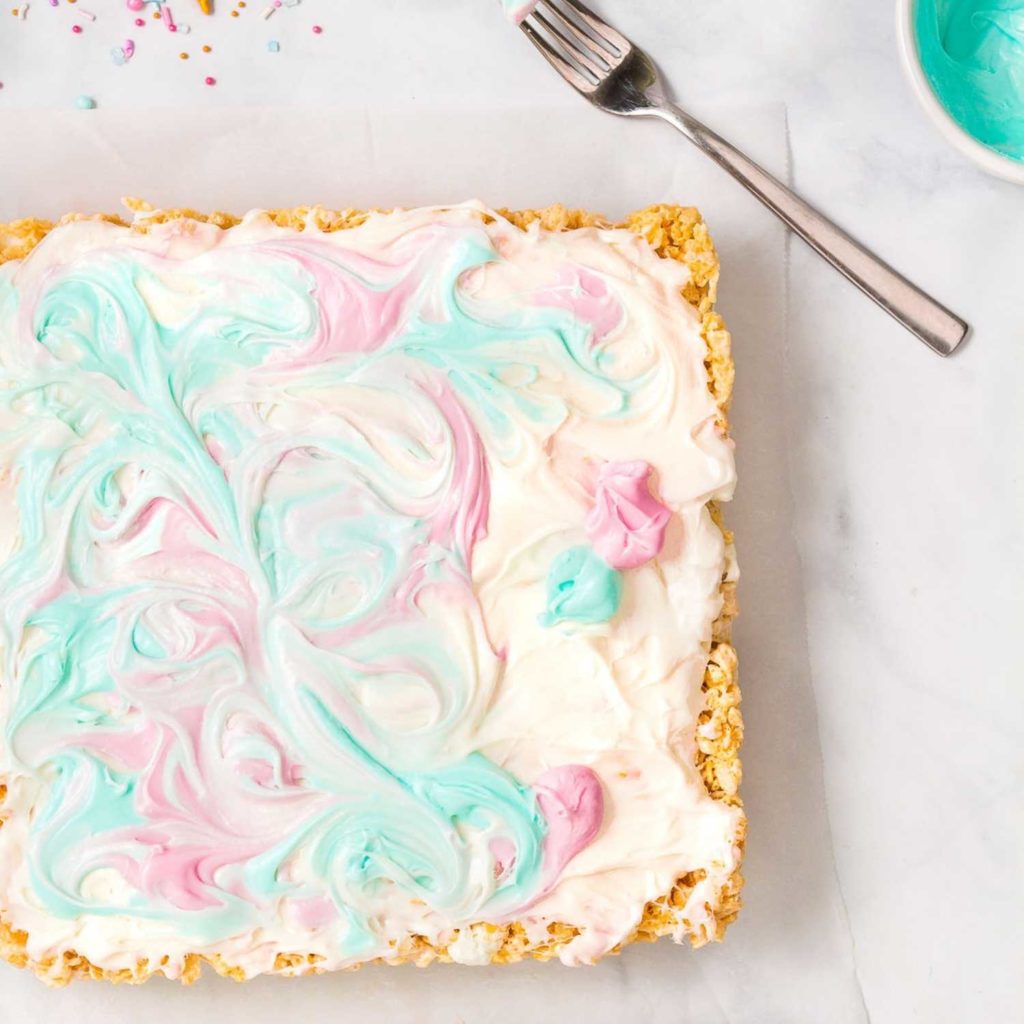
Using a fork, scoop up about a tablespoon of the colored frosting to dollop onto the white frosting surface. Do this multiple times with your first color, leaving enough space for the white to show through.
Repeat this step for the next color, allowing some dollops to touch and others to have white space in between.
Using a clean fork, marble the colors together by slowly dragging the fork in small circular motions around the surface of the frosting. Watch as purple ribbons will naturally occur as the colors slightly run together. Just be careful not to go too fast you might accidentally lose the swirling color effect.
Take a pinch of your favorite sprinkles for the finishing touch, and have fun! (Pro tip: drop the sprinkles from just below your chin level to ensure even distribution.)
Lastly, using a knife, cut the Rice Krispie treat into 9 equal-sized pieces.
Can I place Rice Krispie Treats in the refrigerator to cool after making them?
Unfortunately, if you put your treats directly into the refrigerator, you risk having them harden too much. To get a soft, chewy texture, it is best to leave them at room temperature to cool down. This process will take about an hour.
What can I use instead of parchment paper?
If you don’t have parchment paper, we recommend using tin foil. While tin foil is not as nonstick as parchment paper would be, it will still protect your treat from getting stuck to the baking pan.
Applying butter or nonstick spray to an unlined baking pan is also an option. Just be sure to remove your Rice Krispie treat from the pan before cutting your treats. This will help avoid accidental cuts and scratches on the surface of your pan.
How should I store these Unicorn Rice Krispie Treats?
Part of what makes this recipe so classic is that salty-sweet combination you get from using real butter. This is also what makes storing them correctly so important.
Always place them in an airtight container like Tupperware or a gallon-size ZipLock bag. It is also a good idea to keep them on parchment paper since they will be sticky.
You can leave them out on your counter or in your pantry. However, due to the dairy content, it is best to them away after 3 days.
If you want to keep them longer, we recommend that you refrigerate them. However, it is worth noting that when refrigerated, they will harden significantly, and you will lose that soft and gooey texture.
How do I make sure Rice Krispies don’t get hard?
To prevent your Rice Krispie Treats from getting too hard, you need to cook the butter on low heat. Then, add the marshmallows and cook until they have just finished melting completely then remove from the heat. If you continue to cook the marshmallows, they will harden. Another important tip is to gently press down your Rice Krispie Treats into the pan as you’re molding them as to not make the treats too compact and dense.
Can I freeze these Unicorn Rice Krispie Treats?
As long as you use a freezer-safe container or freezer ZipLock bag, then these treats are safe to store in the freezer. We do not recommend freezing them any longer than 3 months.
How can I make these treats even more magical?
Add something extra during the mixing stage.
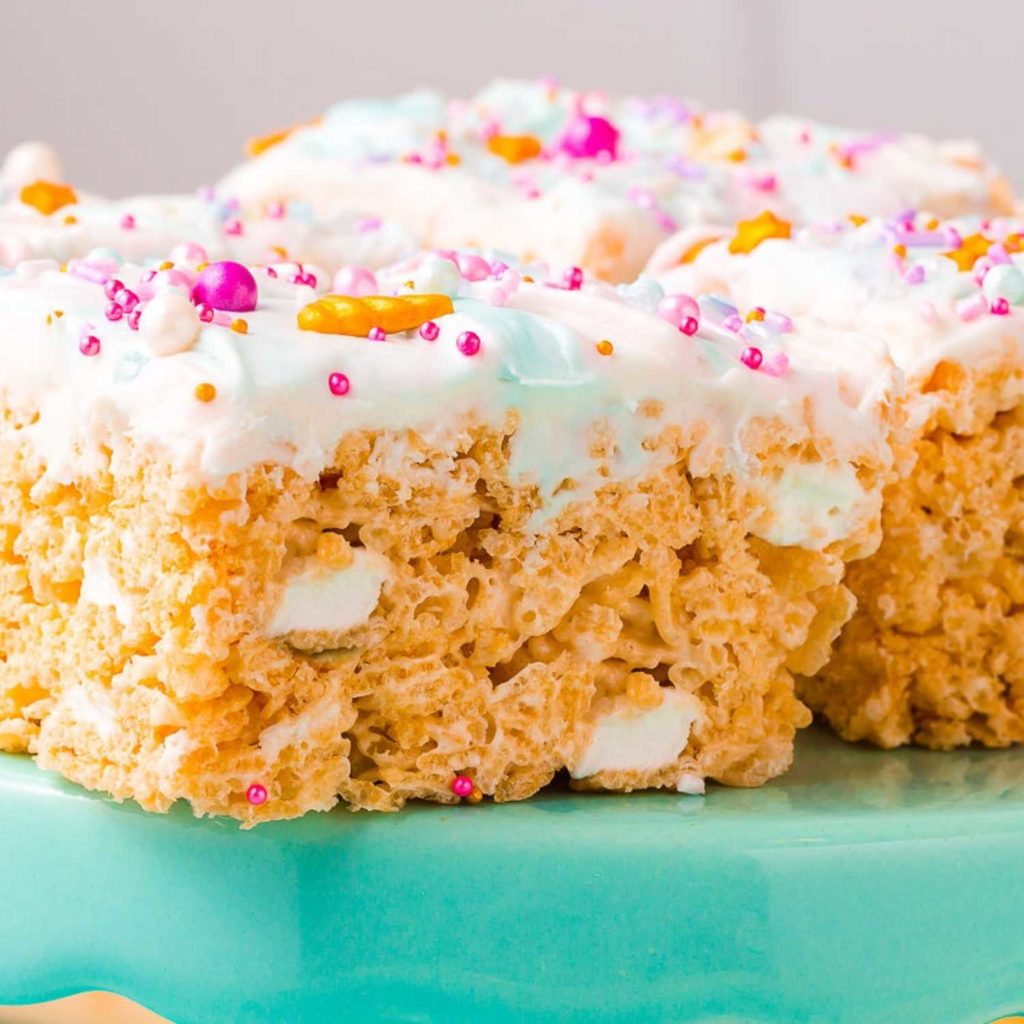
During the step where you mix in the marshmallows, you can also mix in a little something special. You can add a few tablespoons of sprinkles, some dried strawberries, or even some Fruity Pebbles cereal. This will give the inside of the Rice Krispie treat a rainbow effect.
Create shapes.
If you don’t want just plain old squares, consider turning your Unicorn Rice Krispie treats into fun shapes. You can do this with different cookie cutters like a unicorn shape, a rainbow shape, and more.
You could change it up even more by switching these to Chocolate Rice Krispie Treats and still keep the unicorn frosting and decorations!
Unicorn Rice Krispie Treats
Equipment
- A Metal or 8×8 Inch Baking Pan
- Parchment Paper
- Dutch Oven or Large Heavy Bottom Pot
- Off-set Spatula
- 2-4 Ramekins or Small Bowls
- Wooden Spoon
Ingredients
For The Squares:
- 8 tbsp Unsalted Butter
- 16 oz Fresh Mini Marshmallows (divided into two bowls – one bowl with 7 cups, one bowl with 1 and 1/2 cups)
- 3/4 tsp Vanilla Extract
- 1/4 tsp Almond Extract (optional)
- 1/2 tsp Kosher Salt
- 8 cups Rice Krispie Cereal (or similar cereal)
For The Topping:
- 2x 12 oz White Cake Frosting Cans
- Pink Food Coloring
- Blue Food Coloring
- Sprinkles
Instructions
Directions For The Squares
- Place a Dutch Oven or large, heavy bottom pot on the stove. Preheat the pot for 2 minutes using low heat.
- Once your pot is pre-heated, add the butter. Stir to allow the butter to melt evenly, approximately 5 minutes.
- Around the 5-minute mark, the butter will start to sizzle and foam. Brown the butter to a light golden brown. If a small dark bit begins to form, remove the pot from heat immediately.
- Add marshmallows, vanilla extract, optional almond extract, and salt.
- Stir until marshmallows melt completely.
- Slowly fold the cereal into the melted marshmallow mixture until evenly distributed.
- Sprinkle the remaining marshmallows into your mixture and fold carefully allowing the fresh marshmallows to be evenly mixed within the previously melted mixture.
- Line your 8×8 inch baking pan with parchment paper.
- Transfer the mixture into your baking pan one scoop at a time. Start in the center, and place mounds of the mixture around the inside of the pan until full.
- Placing a scrap of parchment paper between your hand and the mixture, gently press into the pan, but do not push down too hard. Pushing down hard would result in a tough and dense Rice Krispie Treat.
- Rest at room temperature for at least 30 minutes. (Avoid placing this in the refrigerator to cool, the sudden temperature drop will harden the sugar and impact the texture.)
Directions For Decorating
- Once the Rice Krispie treats are cooled, remove the block from the baking pan by lifting up the edges of the parchment paper and placing the parchment paper and Rice Krispie block onto your countertop. If you did not use parchment paper, do your best to remove the Rice Krispie treat from the pan, keeping it in one piece, and place it onto a large plate or cooling rack.
- Prepare your unicorn frosting colors. In this case, I kept one tub plain white and portioned the other tub into two equal parts. You can use one part to be dyed with blue food coloring, and the other part to be dyed with pink food coloring.
- Using an offset spatula, dollop white frosting onto the center of the treat and push and swirl the frosting until fully covered with lovely, whispy textures.
- Using a fork, scoop up about a tablespoon of the colored frosting to dollop onto the white frosting surface. Do this multiple times with your first color, leaving enough space for the white to show through.
- Repeat this step for the next color, allowing some dollops to touch and others to have white space in between.
- Using a clean fork, marble the colors together by slowly dragging the fork in small circular motions around the surface of the frosting. Watch as purple ribbons will naturally occur as the colors slightly run together. Just be careful not to go too fast you might accidentally lose the swirling color effect.
- Take a pinch of your favorite sprinkles for the finishing touch, and have fun! Pro tip: drop them from just below your chin level to ensure even distribution.
- Using a knife, cut the Rice Krispie treat into 9 smaller, equal sized pieces.
Notes
We hope that you love these Unicorn Rice Krispie Treats as much as we did! And if you’re looking for a fun kid-friendly Unicorn craft to go along with these amazing treats, you have to check out this article where we review 25 unique Dollar Tree craft ideas.
If you want to learn how you can save even more money on your groceries, check out this blog post!

Leave a Reply